ESP32 WiFi Screen Receiver - MakePython ESP32

In this ESP32 WiFi Screen Receiver project, we will use ESP32_ScreenShotReceiver to transmit video to MakePython ESP32 color LCD via WiFi.
1. MakePython ESP32 Color LCD
MakePython ESP32 Color LCD is the color LCD version of the MakePython ESP32. In this version, it using a colorful 1.3 inch LCD, which makes the boards suitable for applications that need a colorful display. Besides, this version has 2 options for users: WROOM(NO PSRAM) and WROVER(8MB PSRAM).MakePython ESP32 Color LCD⚙️: https://t.co/ZOXL5BpmK6#esp32 #iot #micropython pic.twitter.com/Zcwpd6kyN6
— Makerfabs (@MakerfabsTech) August 3, 2020
The MakePython ESP32 color LCD board is programmed with MicroPython by default, users can begin the MicroPython developing as getting then on hand.
2. ScreenShotReceiver
This time, I tried using @lovyan03's "ScreenShot Receiver" to receive video via WiFi.2.1 What is ScreenShot Receiver
It is an application that "makes the screen of the PC JPEG and sends it by TCP, receives it by M5Stack/ ESP32 and displays it".You can download the Send APP for Windows and the Arduino sample code for receiving
2.2 Receive Arduino Sample Code (ScreenShotReceiver)
Download the Arduino code for ESP32 below and write it to the MakePython ESP32 Color LCD: ScreenShotReceiverThe following libraries are also required, so please install them.
MakePython ESP32 has the color LCD ST7789 (240 x 240) mounted on the color LCD.
TFT_eSPI is used for SPI settings, so edit the User_Setup.h file in the TFT_eSPI library.
2.2.1 Start the MakePython ESP32 Color LCD
When writing is completed and started, "WiFi connection is tried, and if it cannot be connected, SmartConfig starts."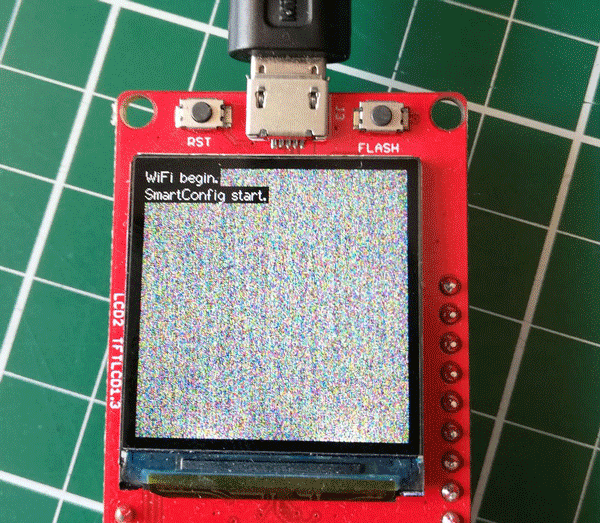
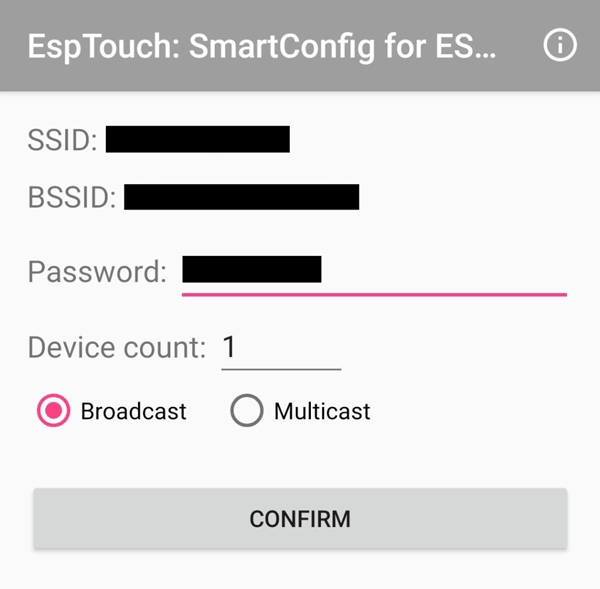
2.2.2 SmartConfig
SmartConfig is a function to execute WiFi settings from a smartphone by using ESP32 as a WiFi access point.
You can install the smartphone app for Android with the following.
Set WiFi with SmartConfig app and connect ESP32 with WiFi.
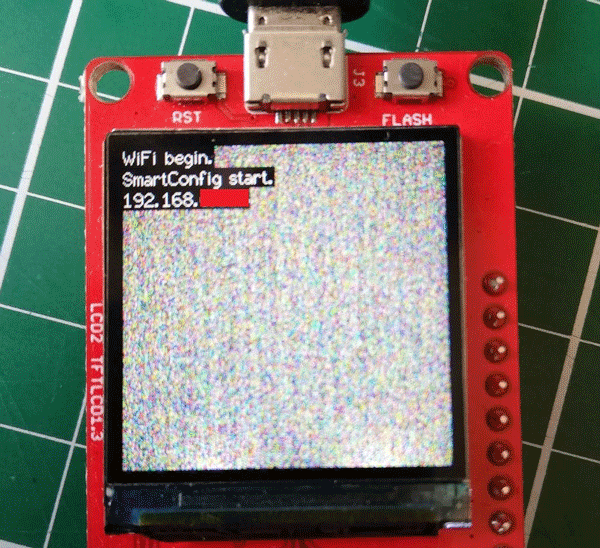
When the connection is completed, the IP address will be shown on the display.
2.2.3 Reference
3. Send Application for Windows (ScreenShotSender)
Start the sending application ScreenShotSender.exe.The setting window and transmission range specification window will open.
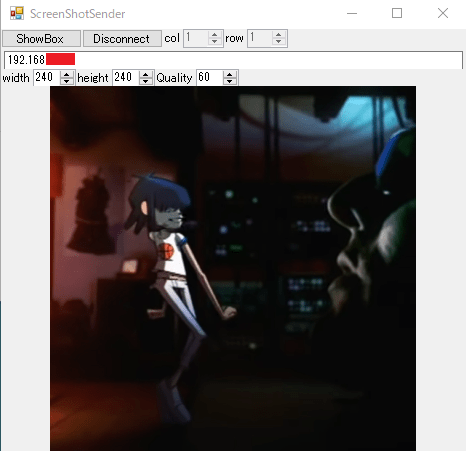

"You can set the width, height, and image quality parameters and the JPEG range.
When you enter the IP address of the receiving side to connect, part of the Windows screen will be displayed on the LCD."
できました!
— HomeMadeGarbage (@H0meMadeGarbage) May 30, 2020
キレイにほぼ遅延なく表示されました! pic.twitter.com/pcZnjWVacu
The image quality is 60%, and it can be transmitted with FSP 28. Great! This is very convenient.
Also, the image of the color LCD ST7789 installed in MakePython ESP32 Color LCD is beautiful! It has a wide viewing angle.ありがとうございます。
— HomeMadeGarbage (@H0meMadeGarbage) May 30, 2020
クオリティ 100%にするとさすがに遅くなりますね。 pic.twitter.com/2rgIADMuEW
4. Speed Improvement
Mr.Lovyan03 taught me how to improve speed.~\Arduino15\packages\esp32\hardware\esp32\1.0.4\tools\sdk\lib\libdriver.aちなみにコレを施すと SPI 80MHzでDMA転送が可能になります…。https://t.co/Mg8YIhgDF5
— らびやん (@lovyan03) May 30, 2020
ESP-IDFの方では修正されてるんですが、ArduinoESP32はまだ古いままなので不具合でSPI 40MHz までしかDMA出来ないのです。
なおLovyanGFXはライブラリ使わずレジスタ制御してるので80MHz DMA可能になってます。
It is said that SPI 80MHz is possible by changing 5A 62 02 in the above to B4 C4 04 with a binary editor.
With the above modifications, in the User_Setup.h file.ですです。00 5A 62 02 が40MHzを表しているので、 00 B4 C4 04 の80MHzを表す値に書き換えればオッケーです。libdriver.aの中でこの並びが出てくるのは一か所だけのハズなので pic.twitter.com/4NL9K11xZc
— らびやん (@lovyan03) May 30, 2020
#Define SPI_FREQUENCY 27000000 → #define SPI_FREQUENCY 80000000
I changed it to and tried it. You can now send and receive with FPS 40 or higher!!!
5. Project Completion
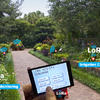
I use Lovyan03's ScreenShotReceiver successfully! I was able to enjoy receiving WiFi video with MakePython ESP32 Color LCD.I was surprised to be able to receive and display it very clearly! I'm looking forward to various applications again.
6. Update
ESP32_ScreenShotReceiver Update (2020/6/30)There is an update in ESP32 WiFi ScreenShotReceiver and the LCD SPI setting was dependent on TFT_eSPI. It can now be set with Laviyan's graphic library Lovyan GFX.
See the following article for details: Enjoy ESP32 ScreenShotReceiver on MakePython ESP32 Color LCD
This is a project shared by HomeMadeGarbge, under his authorization, we translate it into English and share here. If you can read Japanese, Pls check the original article.