How to Make a Raspberry Pi Camera with SPI Screen

In this project, I will introduce you how to make a Raspberry Pi Camera with SPI Screen, with the 3.2 inch SPI driver display for raspberry pi and 5 megapixels camera module OV5647.
1. Overview
1.1 HDMI driver screen or SPI driver screen more suitable to work with Raspberry Pi?
Raspberry Pi 3B, 4B and zero serials provides the HDMI interface that can connect a HDMI screen directly. The screen would show the Raspbian desktop directly, does not require programming. Although it is like the computer display to use, the HDMI screen is difficult to deeply develop for the amateur. There are lots of sizes for the screen: 3.5 inch, 7 inch, 12 inch, and more. For the portability, the size of 3.5 inch is the best choice that it can be carried easily working with Raspberry Pi outdoor. However, it has a hard problem that it would display all the OS desktop that the icon and word shown on the display is small and unclean to check. The HDMI screen with small size would cause the touch mistake when touching the small icon by finger. The small words and the touch mistake are terrible and hard to use.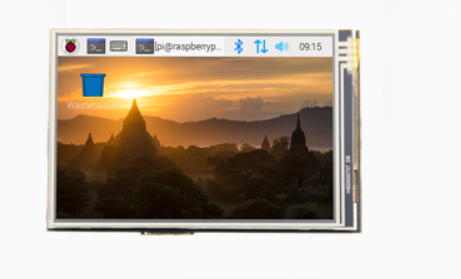
For SPI driver screen, different from HDMI driver, it connects with the Pi by the GPIO, that the Pi outputs the data of the picture through GPIO(SPI). Although it can’t show the OS desktop directly, it is open for customers and suitable for programming that screen can display anything that you developed on the code. The SPI-driver Screen also have lots of sizes that contain 2.8 inch, 3.2 inch, 3.5 inch and more, and the 3.5 inch or 3.2 inch one is sufficient to show picture and comfortable for holding. Besides, the screen has more portability to work with PI and is cheaper than the HDMI screen.
In a word, HDMI display is suitable for applications that run on OS, while the SPI display can be more convenient for light applications such as IoT/Smart-home…
There is a combination version of Pi and the SPI driver screen developed by Makerfabs. I will use it to make a camera and show the effect that the SPI screen work with Raspberry Pi.
2. Raspberry Pi and SPI Screen
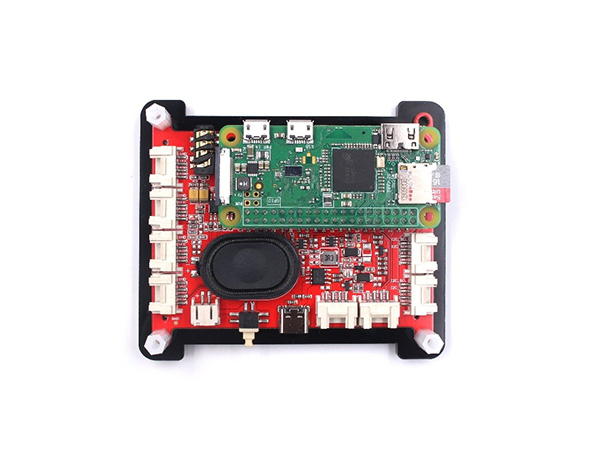
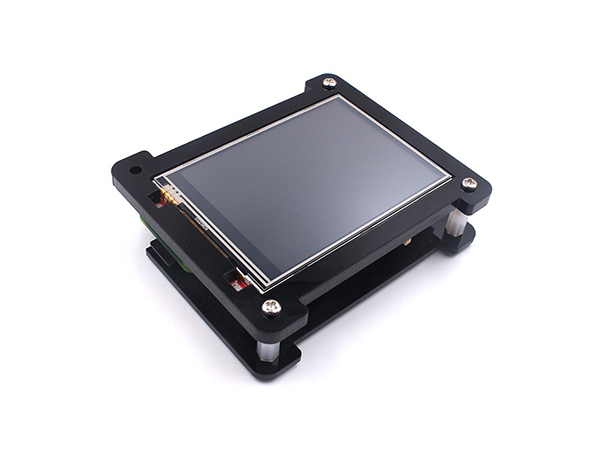
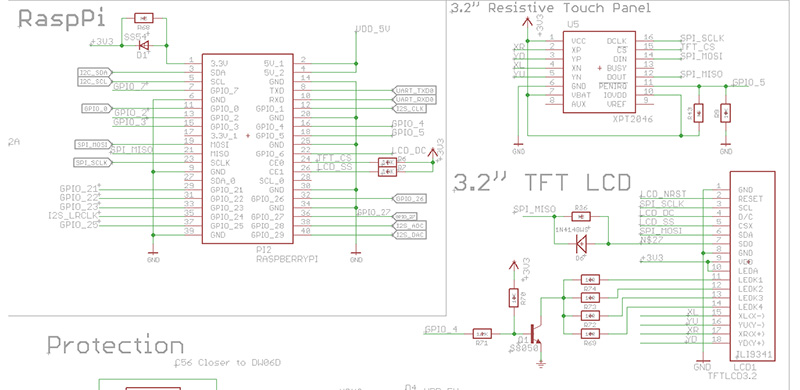
Raspberry Pi Embedded System Development Platform is based on Raspberry Pi Zero W. It has a 3.2-inch SPI driver display with the resolution of ILI9341 and features the touch diver - XPT2046 for touch ability.
Besides, there are 2 pcs of mic array and WM8960 for audio recording& coding and a speaker for the audio output, which makes the system ready for applications that need audio recording/ outputs.
It also has many GPIO ports, which can connect more than 200 kinds of sensors/actors(check Seeedstudio Grove), to create projects based on PI in few minutes.
3. Camera Module
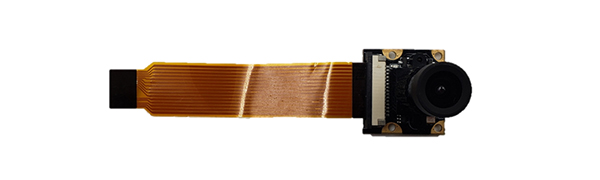
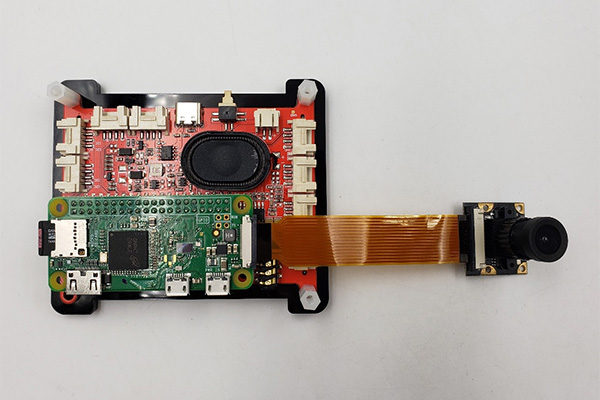
I purchased a camera module for Raspberry Pi online to try to take some photos. The camera module is OV5647 one with 5 megapixels. Plugged it into the interface of Raspberry Pi, I could take photos easily with it, and program the Pi to show the photo on the screen.
4. Program
Expect the sketch for camera, it has to program the Pi for the display and touch. For display, the size of the screen is 320*240 that it requires the photo must be 320*240, so you can take the photo directly with the 320*240 size, or take the high-quality photo and process it to the size.All the sketches I used are available on Makerfabs Github.
1. For the camera, it has to set the config of the PI to enable the camera interface, and use the Python library (PiCamera) to drive the camera. The PiCamera library is pre-installed on Raspbian that it does not need to be installed again. There is a demo code that drives the camera to take a photo with 320*240:
from time import sleep
from picamera import PiCamera

camera = PiCamera()
camera.resolution = (240, 320)

camera.capture("camera.bmp")
camera.close()
2. For the display, refer to the library and demo of the Waveshare team to drive the ILI9341 screen to work. Thanks for the Waveshare team again. There is a demo used in this project for showing the photo on the display.
GUI_ReadBmp("./camera.bmp");
//LCD_2IN4_Display((UBYTE *)BlackImage);

Paint_DrawRectangle(190, 280, 230, 310, BLACK, DOT_PIXEL_1X1, DRAW_FILL_FULL);
Paint_DrawString_EN(195, 285, "EXIT", &Font8, BLACK, WHITE);
LCD_2IN4_Display((UBYTE *)BlackImage);
You can control the device by touching the screen to take a photo.
As the picture showed, the touch IC(XPT2046) connects with Raspberry PI through SPI, it can be used the library which comes from here to check the screen whether and where is pressed. When touching the center of the screen, the PI will execute the camera code mentioned above to take a photo and then display the photo on the screen.
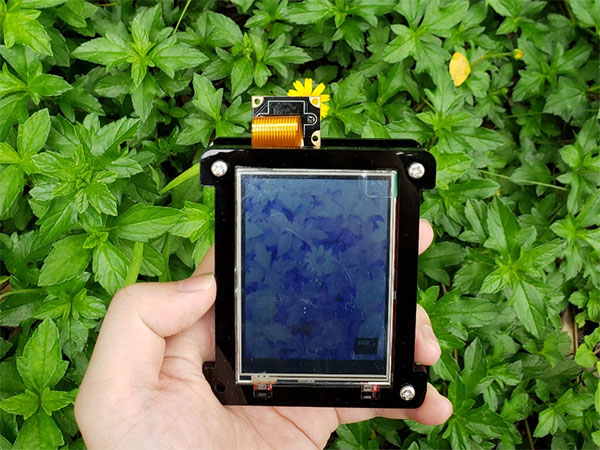
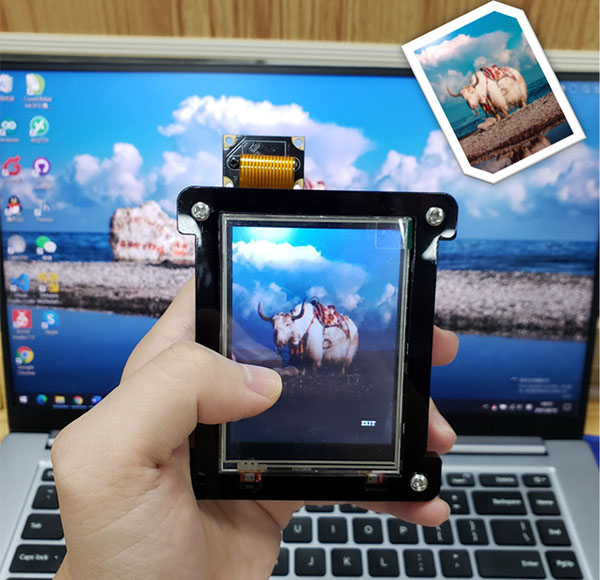
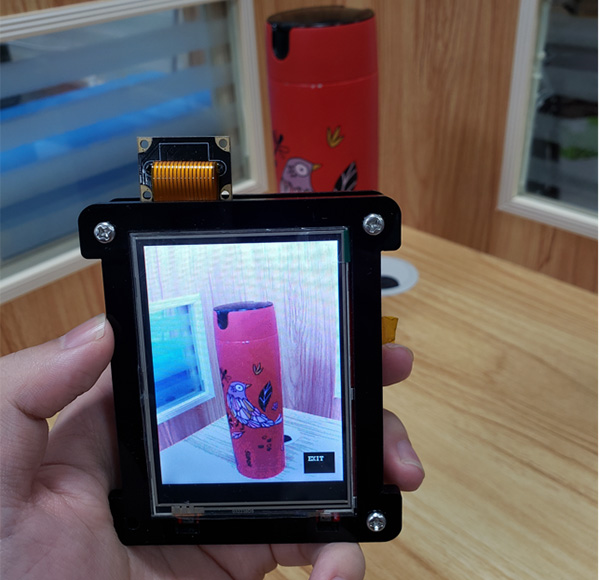
5. Take Photos Using Raspberry Pi Camera with SPI Screen
I prepared a light lithium battery for Pi, that it can carry to outdoor and take photos everywhere. Press the screen center, it will take a photo and show it on the screen.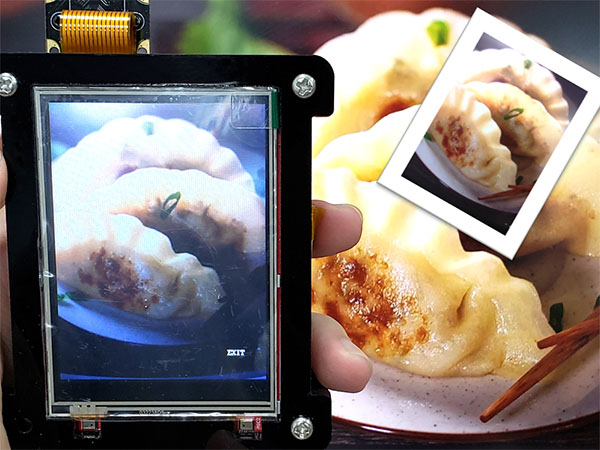
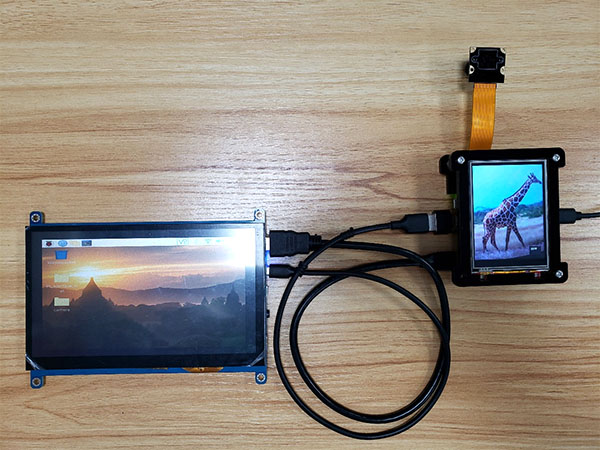
Besides, the SPI screen and HDMI screen works with PI in different ways, so actually if you need, you can use the SPI screen& normal HDMI screen simultaneously in your projects.
If you have further questions about this Raspberry Pi Camera with SPI Screen, or need turnkey PCBA solutions, please feel free to contact service@makerfabs.com.
Related Blogs
- [2023-06-26] Exclusive Giveaway Event - Win Exciting Prizes: $200 Coupon or Raspberry Pi 4 Computer 8GB!
- [2022-12-07] Cautions in Using ESP32 ADC - Makerfabs
- [2022-09-06] ESP8266 WiFi Shield Firmware Upgrade V1.0
- [2022-07-15] Production Errors of Lora Soil Moisture Sensors
- [2022-05-20] How to Make an Ultrasonic Levitation Device